 |
 |
Home
Tools
Drilling and Fixing
Putting Things Up
Repairs/Maintenance
Plumbing
Electrics
Woodwork
Decorating a Room
Tiling
Safety & Security
Saving Energy
House and Finance
Health&Safety
Disclaimer
Contact
Advertising
Useful Links
Site Map
| Plastering | ||||||||||
Plastering is quite a tricky job and I wouldn't advise a beginner to try anything other than patching in small areas. If you need to do a whole room get the professionals in. There are several different types of plaster for different jobs. |
||||||||||
You can buy some ready mixed plasters but I would tend to use the powered types you mix with water for a more professional job. Available from from your local building materials supplier |
 |
|||||||||
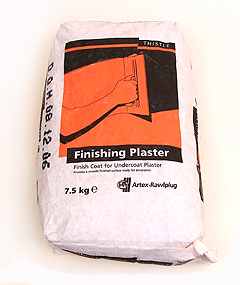
Thistle finishing plaster |
||||||||||
If you need something thicker to patch in (like if you are patching up interior brickwork prior to a final finish) you will need an under coat of Bonding plaster or browning plaster. These are much more coarse than finishing plaster and you use these to the build up to your required level before applying finishing plaster. Alternatively checkout the thistle plaster site for what to use as well as loads of other useful info. |
 |
|||||||||
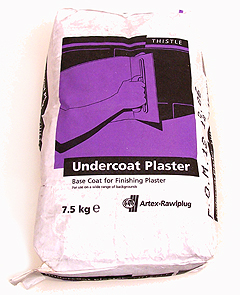
| Thistle undercoat plaster. Covers a variety of internal wall surfaces |
||||||||||
| http://www.british-gypsum.com | ||||||||||
Doing a final skim with finishing plaster This is a two part process whereby you first apply the plaster, then when its starting to dry after 20 minutes or so finish it of to get a nice smooth surface. |
 |
|||||||||
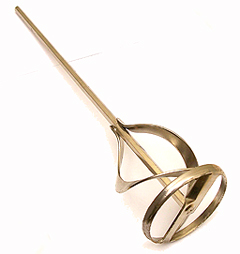
| Plaster mixer for use with power drill | ||||||||||
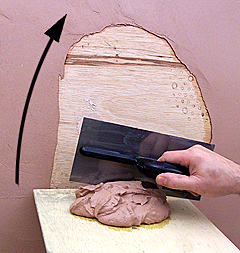
Use a plasterers hawk(flat plate with a handle on it) to load up some of the mix. It will start to "go off" (become semi dry and workable)after 20 minutes or so(you should see the wetness go from the surface) and then you can smooth out any lumps or ridges. Spray a little water as you go and work the plaster with your float until you get a nice smooth finish. It's a bit of an art but if you persevere you can achieve good results. |
 |
|||||||||
| Spread plaster on the wall using an upward motion in the direction of the arrow | ||||||||||